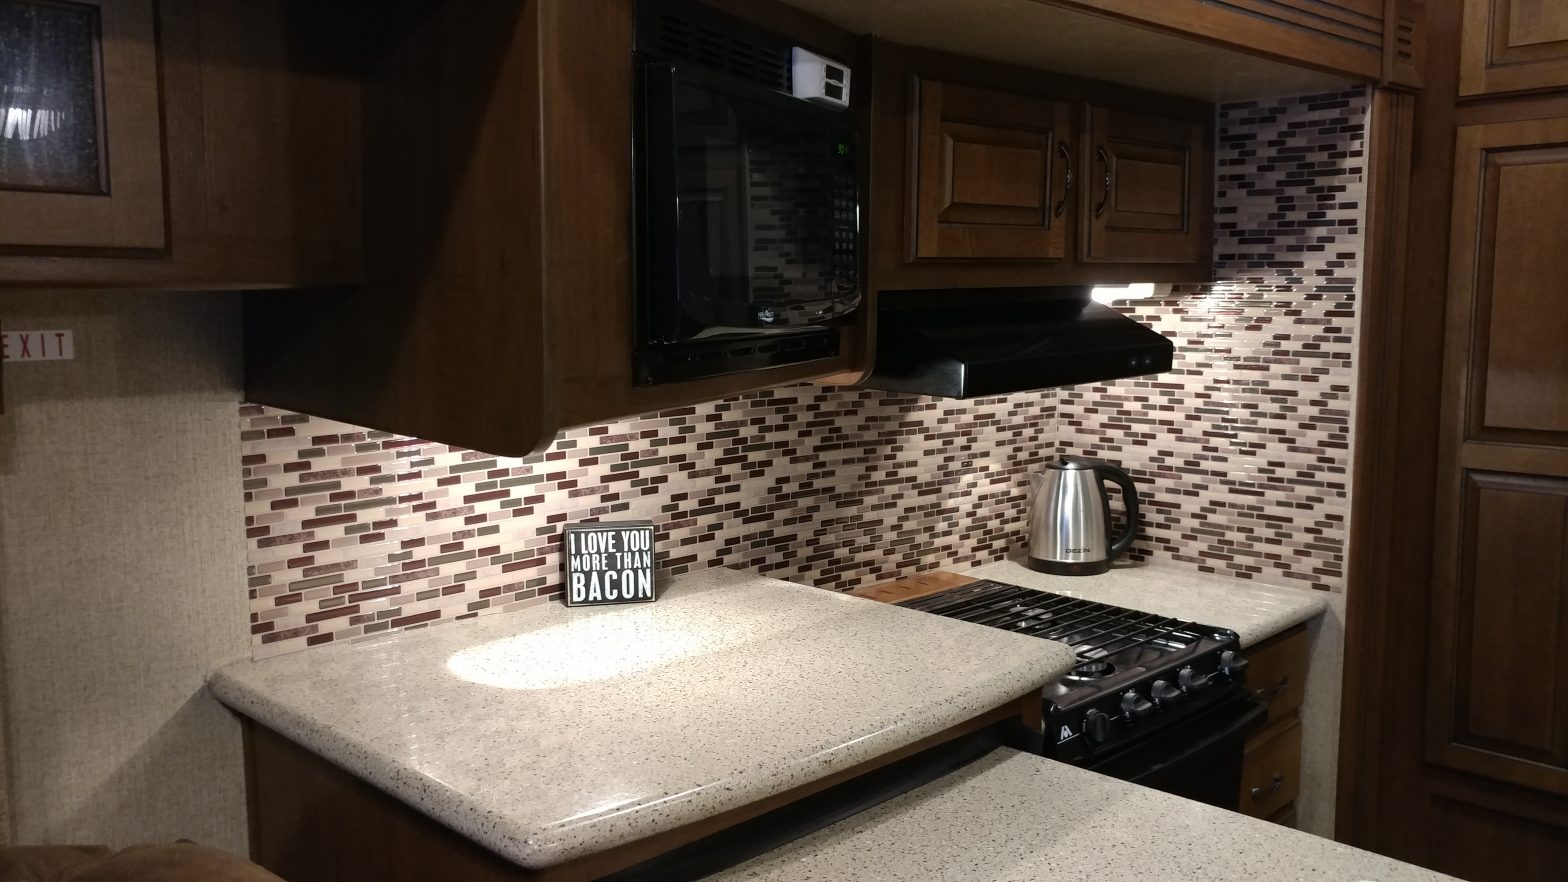
We installed a Kitchen back-splash upgrade to our RV and it was easy and looks great! We are going to show you how you can do it too! Below is a video we released (sorry for the shaky video work, we are still learning, but we promise to get better!) of our Tic Tac Tile vinyl tile installation to our Kitchen back-splash and a few of the tips and tricks we used to get the job done.

The basic installation of the back-splash is quick and easy! We did ours in a few hours.
Materials (Online links at the bottom of the page)
- Tic Tac peel and stick tiles (Measure your project to determine the square footage you need) 12”x12” tiles yield about 5.5 sq feet when applied as they overlap/ interlock each other.
- Cleaner and Degreaser and lint free cleaning towels to wipe down the work area and insure a good adhesion of the tiles.
- Optional – We used a can of spray adhesive to coat the edges of the tiles as a little insurance against lifting. We had read some reviews on line where the tiles were beginning to lift on the edges. We believe it was due to an oily surface or insufficient preparation, but we used the adhesive just as an additional measure of insurance.
Recommended Tools (Online links at the bottom of this page)
Tape Measure
Carpenters square or a straight edge
Box cutter or razor knife / scissors
Nitrile Gloves
wall paper roller (to press the tiles for good adhesion)
Optional – contour gauge if you have compound or difficult cuts.
Installation
Installation is simple and easy!
- Clean and prepare the area that tiles are to be installed on. (A good test is to stick a piece of Scotch tape to the cleaned wall, and remove it to see if there is any lint or residue on the tape)
- Measure your project area to confirm how much tile will be needed. (12”x12” tile renders 5.5 sq ft of finished area)
- Trim the first tile along the straight edge of the wall to start and give a uniform appearance.
- Carefully plan the tile placements before removing the adhesive protective layer for application.
- Double check your measurements before you cut your tile. Measure twice, Cut once!
- If you have any compound or difficult cuts, you may want to consider the use of the contour tool to ensure nice accurate cuts and a clean job.
- After you have applied tiles, be sure to press the tiles with the rollers to ensure good adhesion and the edges as well with your finger tip or a blunt object.
- You may need to finish corners or edges with a bead of caulking or trim depending on your project needs.
- Step back and enjoy your achievement and new beautiful back-splash!
Tiles and Tools for your Project
The following images of products are affiliate links which Loving RV Life has arranged for your convenience locating the materials you need for the items we have used and approve of. By clicking on the image, it will take you to the item details page. If you purchase through this link, it does not cost you any additional money, but provides a small commission which helps Loving RV life continue to bring you additional content and information, not to mention it helps us keep the RV lights on. We are not sponsored on this material, and paid for the materials and work on our own. Thank you for supporting us at LovingRV.Life.
**The first tile image in the list is the “Como Mare” and is what we chose for our installation in the video and the page photo above.


Tools


